
Dealing with water damage under your sink can be a daunting task, but it’s crucial to address it promptly to prevent more serious problems down the line. Whether it’s from a leaky pipe or a spill, water damage can compromise the integrity of your cabinets and even lead to mold growth. This guide will walk you through the steps to effectively fix water damage under your sink, ensuring that your kitchen remains both functional and safe. With straightforward advice and practical tips, you’ll learn how to tackle this common household issue with confidence, preserving the longevity of your cabinetry and maintaining a healthy living environment.
Understanding Sink Water Damage – The Unseen Hazard
Before lurching into repair mode, it’s important to truly understand the damage at hand. Under-the-sink areas are often dark, enclosed spaces, ripe for fostering mold and mildew. Lingering moisture is not merely a cosmetic concern; it can pose significant health risks to you and your family. Here’s what you need to know:
Signs and Symptoms
Water damage fix under the sink might be visible as staining or mold growth. However, much of it happens behind the scenes, rotting away at wood and corroding metal. You might notice:
- A musty odor, a sure sign of mold and mildew
- Swollen, warped, or discolored cabinetry and walls
- Increased humidity levels in your kitchen
Health Hazards
Mold releases spores that can be allergens, irritants, and, for some, toxic substances. Exposure to mold can trigger allergic reactions and asthma attacks or cause respiratory issues.
The Silent Dangers
If water damage is left unchecked, it can compromise the integrity of your home’s structure, leading to expensive repairs. Furthermore, it weakens the structural supports and can attract pests like termites and ants.
Assessing the Extent of Damage
The next step is thorough evaluation.
Identifying the Source
Determine where the water is coming from. Common culprits include:
- Leaking drain pipes
- Faulty seals around the sink
- Dripping faucets
- Pipe corrosion or breaks
Inspecting the Surface
Look for discoloration, soft spots on the cabinetry, and any visible mold or mildew. Ensure there is no standing water, which may indicate a more severe leak.
Checking for Infiltration
Has moisture spread to surrounding areas? Under the sink is often just the starting point; it’s not uncommon for water damage to spread to floorboards and walls.
The DIY Cleanup: How to Start
Armed with an understanding of the problem, it’s time to roll up your sleeves and begin the cleanup process.
Immediate Action
Act quickly to prevent mold growth. Start by removing all items from the cabinet under the sink and allow the interior to air out.
Drying the Area
Use fans and dehumidifiers to dry out the space thoroughly.
Sanitizing the Affected Area
Once dry, clean all surfaces with a mild detergent and water solution, or a mix of bleach and water to kill any mold spores that may have landed. Wear gloves and a mask for safety.
Addressing Moisture in Surrounding Materials
If the water has seeped into surrounding materials, it might be necessary to remove baseboards and drill small holes in drywall to promote air circulation and speed up drying.
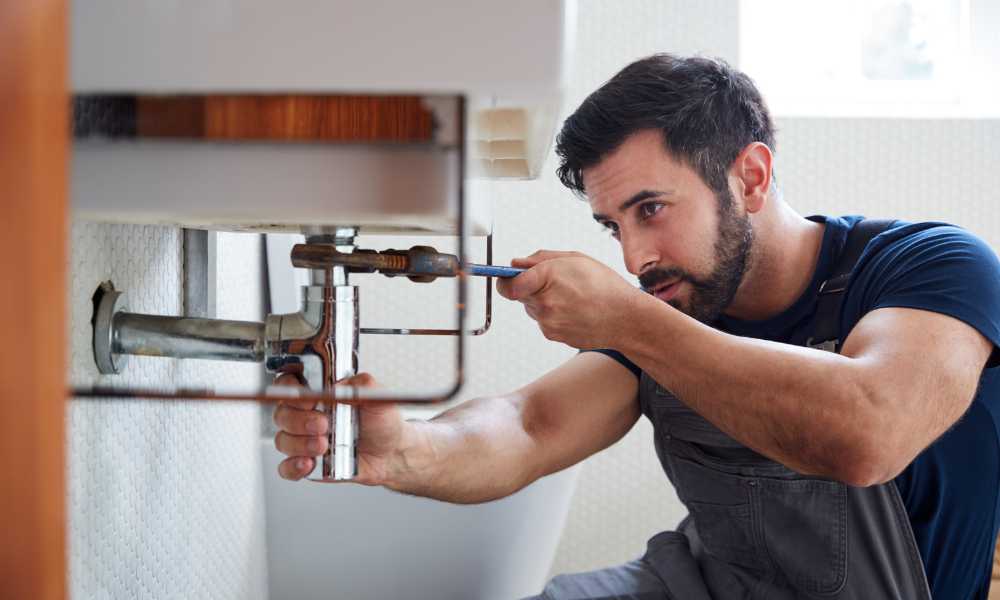
Essential Tools for the Job
Having the right tools can make the repair process smoother and safer.
- Adjustable wrench
- Pipe cutter
- Plumber’s tape
- Putty knife
- Waterproof sealant
- Replacement pipes and fittings
- Protective gear (gloves, goggles, mask)
DIY Repairs for Common Damage
For minor issues, you might be able to make repairs on your own. Here are some DIY solutions for common under-sink problems:
Leaky Pipe Joints
Tighten any loose connections with your wrench. If the joint is corroded or the seal is worn, apply plumber’s tape to the threads before reassembling the connection.
Corroded Pipes
Use a pipe cutter to remove the corroded section of pipe and replace it with a new one, using appropriate fittings and sealants.
Sealing the Sink
If the seal around the sink is compromised, use a putty knife to remove the old caulk, clean the area, and apply a new bead of waterproof sealant. Repair Water Damaged Cabinet Under Sink
When to Call a Pro
While DIY repairs are satisfying and can save you money, there are times when professional help is the best route. Consider calling a plumber or damage restoration specialist if:
- The source of the leak is difficult to locate
- The damage is extensive
- You are uncertain about the necessary repairs
- There are electrical outlets or wiring near the affected area
- You’re facing structural damage that requires more than just sealing holes and drying out
Preventing Future Water Damage
Once the repairs are complete, the last thing you want is to find yourself in the same soggy situation a few months down the line.
- Regular inspections and maintenance of plumbing
- Promptly address any leaks or drips
- Use a drain strainer to prevent clogs
- Replace older, potentially corroded pipes
- Be mindful of what you store under the sink; avoid items that could cause corrosion
Water Leaks and Your Insurance
Home insurance can be a safety net when disaster strikes. Understand your policy and what it covers. If the cause of the leak is due to neglect, it might not be covered, so timely reporting and action are crucial.
Conclution
In the end, Treating water damage sink isn’t just about the immediate fix; it’s about creating a long-term solution that keeps your home safe and comfortable. Whether you decide to tackle the repairs on your own or enlist professional help, you’re on the right path to reclaiming your space from the silent dangers.
Remember, you are not alone in this battle. With the right information and tools, along with a healthy dose of caution and patience, you can turn the tide on damage and restore your peace of mind.