
Installing a KitchenAid dishwasher involves several steps, and it’s essential to follow the manufacturer’s installation instructions provided in your dishwasher’s user manual. Below, I will outline the general steps for install a KitchenAid dishwasher. Keep in mind that specific requirements And procedures may vary depending on your model and local building codes, So consult your manual for precise instructions.
Installation Steps:
1. Gather Necessary Tools And Materials
Now that you’re gearing up to install your KitchenAid dishwasher, it’s crucial to gather all the necessary tools and materials for a hassle-free process. Start by collecting basic hand tools such as screwdrivers, pliers, And an adjustable wrench. Additionally, you’ll need specific tools like A nut driver set and a pipe wrench to ensure you can handle any unexpected challenges that may arise during installation.
In terms of materials, having plumber’s tape, electrical wire nuts, And a new water supply line on hand will help streamline the process And prevent unnecessary delays. Taking the time to gather these essential items beforehand demonstrates foresight And preparation, allowing for a more seamless installation experience. When you have all the necessary tools and materials at your disposal, you can approach the task with confidence and efficiency.
2. Preparing The Space For Installation
Preparing the space for installation of your Kitchenaid dishwasher is a crucial step that can’t be overlooked. To ensure a smooth and efficient installation process, start by clearing out the area where the dishwasher will be placed. Remove any obstacles or items that may hinder access to the installation site, Allowing ample space for maneuvering. Additionally, take this opportunity to thoroughly clean the surrounding area, ensuring A spotless environment for your new appliance.
Furthermore, it’s essential to check and confirm that all necessary connections including water supply and electrical outlets are readily accessible And in good working condition prior to installation. This proactive approach can help prevent delays or complications during the actual installation process. Moreover, investing time in preparing the space beforehand can lead to a more seamless experience and ultimately contribute to maximizing your dishwasher’s efficiency and lifespan.
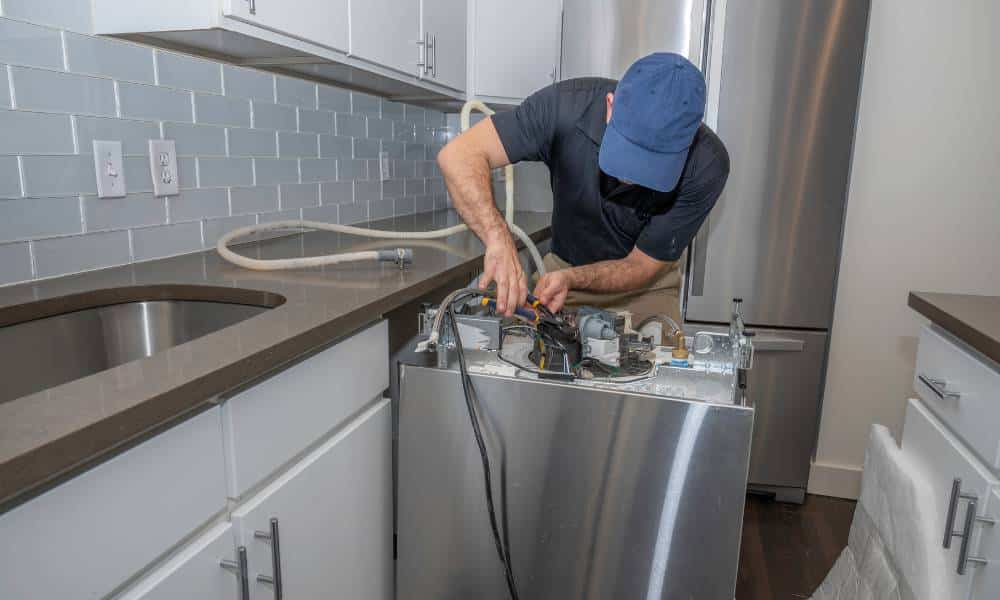
3. Connecting Water And Drain Lines
It’s important to carefully follow the manufacturer’s instructions to ensure proper connection and prevent any potential leaks or issues down the road. When connecting the water line, using A high-quality flexible hose can provide more freedom in positioning the appliance without compromising functionality. Additionally, ensuring that the drain line is securely connected to prevent any blockages or backups is essential for smooth operation.
To achieve optimal performance, it’s beneficial to consider incorporating an air gap into the drain line configuration. This not only helps prevent backflow And contamination but also adds an extra layer Of protection against potential clogs or drainage issues. Furthermore, utilizing quality plumbing materials and techniques such as proper sealing and joint connections can contribute to long-term reliability and efficiency.
4. Securing The Dishwasher In Place
Securing your KitchenAid dishwasher in place is essential for maintaining a safe and functional kitchen environment. While many people overlook this step, properly installing your dishwasher can prevent accidents and damage to the appliance. One often-neglected aspect of securing the dishwasher is leveling it with the floor to ensure stable operation And to avoid leaks or malfunctions. Additionally, using anti-tip brackets can further stabilize the appliance and prevent it from tipping forward when the door is opened. Which could potentially lead to injury or damage.
Consider using high-quality insulation around the edges Of the cabinet to reduce noise and minimize potential vibration. This not only creates a quieter atmosphere but also increases energy efficiency by retaining heat within the unit. Taking these additional steps beyond just securing the dishwasher in place can make a significant difference in its performance And longevity while ensuring safety for everyone who uses it.
5. Testing The Dishwasher Functionality
So, you’ve just install your shiny new KitchenAid dishwasher and are now itching to put it through its paces. But before you start loading it up with dirty dishes, Take a moment to test out its functionality thoroughly. Begin by running A cycle with no dishes inside to ensure that everything is working as expected. Keep an ear out for any unusual noises or grinding sounds, Which could indicate potential issues.
Once the empty cycle is complete, examine the cleanliness Of the internal components And racks. How well did it remove any residual dirt or debris? Consider also testing various wash cycles and options to gauge their effectiveness in handling different types of soiled dishes. Additionally, paying attention to water usage And energy efficiency can provide valuable insights into the overall performance Of your new dishwasher.
6. Troubleshooting Common Installation Issues
When installing a KitchenAid dishwasher, it’s not uncommon to encounter some common installation issues that can be frustrating to deal with. One of the most frequent problems is improper leveling, Which can lead to water leakage And poor drainage. To address this, ensure that the dishwasher is perfectly leveled using a spirit level before securing it in place. Additionally, Be mindful Of the power supply and water connections—misaligned or loose connections can result in malfunctions.
Another common issue during installation is improper fitting within the designated space. This may occur due to inaccurate measurements or obstacles hindering proper alignment. To overcome this challenge, Carefully measure the available space and make necessary adjustments if needed before attempting to install the dishwasher. Additionally, consider removing any obstructions that may prevent smooth installation, ensuring a seamless fit for your KitchenAid dishwashers.
FAQs-
What Are The Common Mistakes To Avoid During Installation?
Avoid over-tightening connections, ensuring proper leveling, and checking for leaks post-installation.
Is It Necessary To Shut Off The Main Water Supply During Installation?
Yes, shutting off the main water supply ensures safety and prevents potential water damage.
How Often Should I Perform Maintenance On My KitchenAid Dishwasher?
Regular maintenance, including cleaning filter On A KitchenAid Dishwasher and checking components, should be performed every few months.
Where Can I Find The User Manual For My KitchenAid Dishwasher?
The user manual is typically provided with the dishwasher upon purchase. If misplaced, manufacturers often have online resources available.
Conclusion
Install a KitchenAid dishwasher is a manageable task that can be completed with the right tools and guidance. By following the steps outlined in this article And carefully reading the manufacturer’s instructions. You can ensure A successful installation process. Remember to take your time and double-check each connection to avoid any potential issues in the future. With proper care And attention to detail. Your new KitchenAid dishwashers will be up and running in no time, making your kitchen chores more efficient and convenient. So go ahead, roll up your sleeves, And get ready to enjoy the benefits Of your newly installed KitchenAid dishwasher.